

Top 10 Audio Engineering Blunders to Avoid for a Flawless Conference Experience
We dive into the intricate and rewarding world of an audio engineer working at conferences, exploring the perks of the job like luxury accommodations and interaction with prominent personalities. It's important to be an expert and maintain team coordination so we will focus the Top 10 critical mistakes in the field. These range from inadequate equipment testing to poor microphone placement, each analyzed for its potential impact on the success of an event.
TIPSLIVE SOUND
Kevon Marshall
1/7/20247 min read
Working a conference as an audio engineer is a fulfilling gig when done correctly. The 5-Star hotels, the excellent food & beverages, & the free education you get just by being engaged and listening as you work are all some of the fringe benefits! On top of that, you get to meet and engage with all sorts of C-level executives, professional athletes, celebrities, and other keynote speakers that have done amazing things that can inspire an audience. When everyone behind the scenes is doing their job correctly and working as a team to ensure the success of a conference, then everyone in attendance leaves satisfied. So let’s be sure as the audio engineers on the show, that we aren’t slacking. To help keep us on point, I’m going to discuss my Top 10 Audio Blunders that can make or break your event.
#1 – Overreaching Your Expertise
I’m going to go over these in chronological order, based on a conference’s timeline from setup to kick off. When being booked on a gig as an A1 (Lead Audio Engineer), be sure to know the ins and outs of your role. Ask questions such as What audio console you will be using? Will the speakers be rigged from the ceiling or ground supported with a stand? Will there be audio cues, videos, or a band incorporated into the conference? How many microphones to coordinate? You could be asked to execute all of the above as an A1 on a single conference, so be sure to accept only what you can execute, because the AV team & client will be dependent on you for the success of the event.
#2 – Inaccessible Audio Tech Table
After you have been booked and the set day has come upon you, you will arrive early for the call. Everyone checks in and all the gear is pushed into the ballroom from the trucks. One of the first things you should do is look at the show diagram to see where the tech tables will be placed. You will want to place your audio console on the end of the tech table closest to the center of the room. That way you can be easily accessed by presenters to “mic” them up. Additionally, it will allow you to have the best available listening position to work more efficiently. It’s a mistake not to own the end of the tech table because if not, you will now have to step farther away from your audio station and pass other tech stations to mic up presenters. That can sometimes put you in a compromising position. Imagine if the main emcee asked for you to turn their microphone up as they are on stage and you are 15 feet away from the mixer dropping a microphone cable down a presenters shirt for the next segment. It would’ve been easy to do both tasks if you were right next to your console.
#3 – Skip TESTING Equipment
Once your tech station is situated, you get the rest of your gear placed where it needs to be, pulled out of cases, set, wired, and ready to TEST. It would be a big mistake to set up your audio rig with everything wired, & cosmetically pleasing, but not actually powering it on & setting up your console & settings to be ready for “show”. Quite frankly, your project manager wouldn’t allow you to leave before you do.
#4 – Overloading A Power Circuit
You must power on everything after ensuring your equipment won’t blow a power circuit. That’s another mistake to avoid. Don’t rely on the integrity of the hotel's power infrastructure (ahem...no offense) but as an audio engineer, you have to know how much power your equipment is pulling and what the power source can handle. You are responsible for distributing your power so you don’t overload a circuit and lose power at any point. So, be diligent about asking your project manager on the gig what power source you are pulling from. Once it is confirmed and ready for use, label your circuits and run your cables neatly to their destinations.
#5 – Neglect Cable & Console Labeling
Now that everything is powered on and you are at your audio tech table, you will continue to set up your station and mixer settings. That would consist of labeling mixer channels and cables, setting up microphone kits and RF antennas, patching inputs & outputs, EQ'ing and coordinating RF. Missing any of these components is a huge mistake!
It’s a better work environment when equipment and cables are labeled correctly. It gives you the extra confidence when executing cues and navigating banks of digital audio consoles. And if there was any scenario where you had to step away from the console, such as a restroom break or being relieved to grab a plate of lunch, the labels would guide the person covering your position until you return.
Setting up, wiring and testing your microphone kits are a crucial part of your set day. You want to make sure that they are wired to the correct inputs of the console. Anything out of order or misaligned can cause you to make a crucial mistake with the least amount of effort. You don’t want to turn up a presenter's microphone that is currently in the restroom by thinking you were turning up the presenter walking onto the stage. And then you realize the cables were mixed up on the inputs....talk about embarrassing! That’s why we TEST. Also be sure to check and see if the microphone receiver is set to mic or line mode before adjusting the gain on your console. Some audio console gain and pre amps can get out of hand and feedback aggressively if a microphone receiver is set to line mode. In that scenario, the signal would be too hot by default and the receiver will need to be set to mic level. Mic level is typically -20 to -40dB less than line level, depending on the brand and model of the microphone receiver.
#6 – Failing To Coordinating RF Frequencies
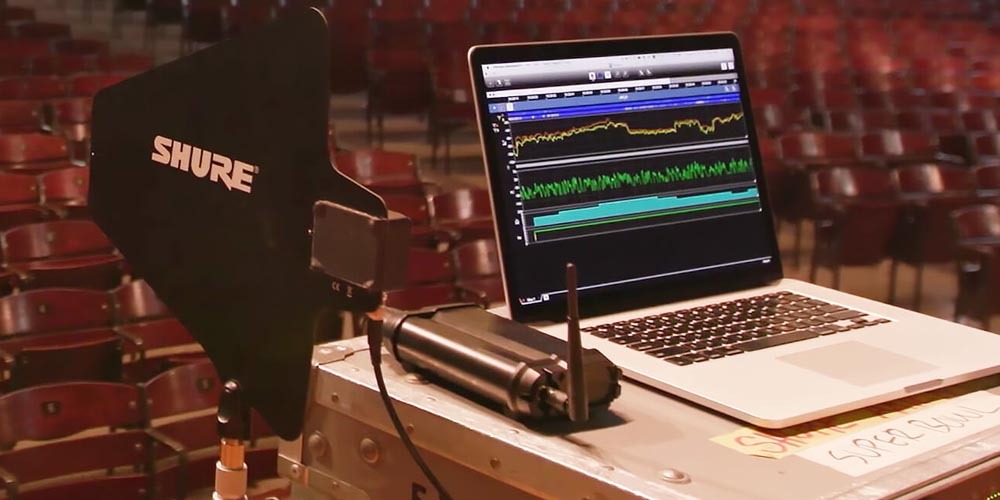
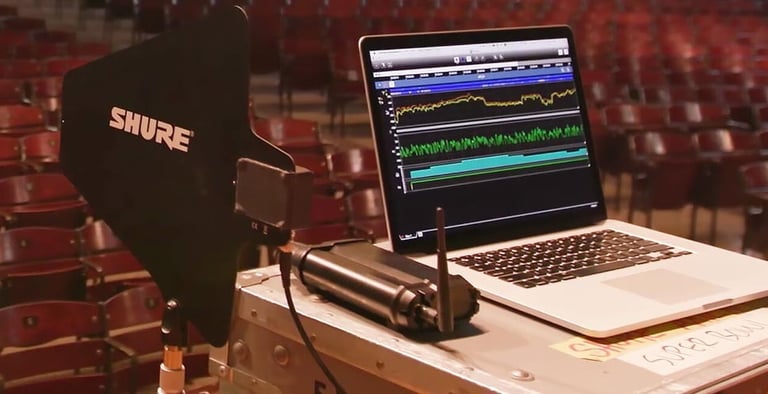
Be sure your RF antennas are in sight of the stage where the microphone transmitters will be. Make sure the antennas are connected securely with the BNC locked and that the RF distribution device is powered on if one is inline. RF, which stands for radio frequency, is what the wireless microphones use to send the audio signal. Each microphone has a RF transmitter & receiver, which needs its own radio frequency to operate on. While most mic kits can scan and find an open frequency for itself, most conferences call for 8 or more microphones, plus many more of other breakout rooms are involved. That’s when RF coordination comes into play. Knowing the microphones you are using and having the compatible RF wireless coordination software can make the process a breeze and give you peace of mind for the radio traffic during the conference. Shure Wireless Workbench, Sennheiser Wireless Systems Manager and Lectrosonics Wireless Designer are three popular and useful softwares. Once you’ve scanned your environment and deployed the best radio frequencies to your microphone kits, TEST them and confirm that they all work properly together.
#10 – Skipping Gear & Battery Rechecks
After extensive TESTING and doing your due diligence to distribute your power, coordinate your RF, set up your tech table and rehearsing with your presenters, you are ready to kick off the conference. Be sure to do a quick re-check off all your gear before the conference officially starts. Test microphones, check batteries, test video signals, cover your ass! Have we mentioned to re-check and re-test?
While operating, be sure to stay engaged through the conference & execute all of the audio cues and roles that are expected of you. Soon, it will become easier with the experience you gain by learning the cadence and flow of the corporate conferences. Try avoiding these Top 10 mistakes we've laid out and you will set yourself up for success. Now, it’s up to you to go execute & be a great audio engineer.
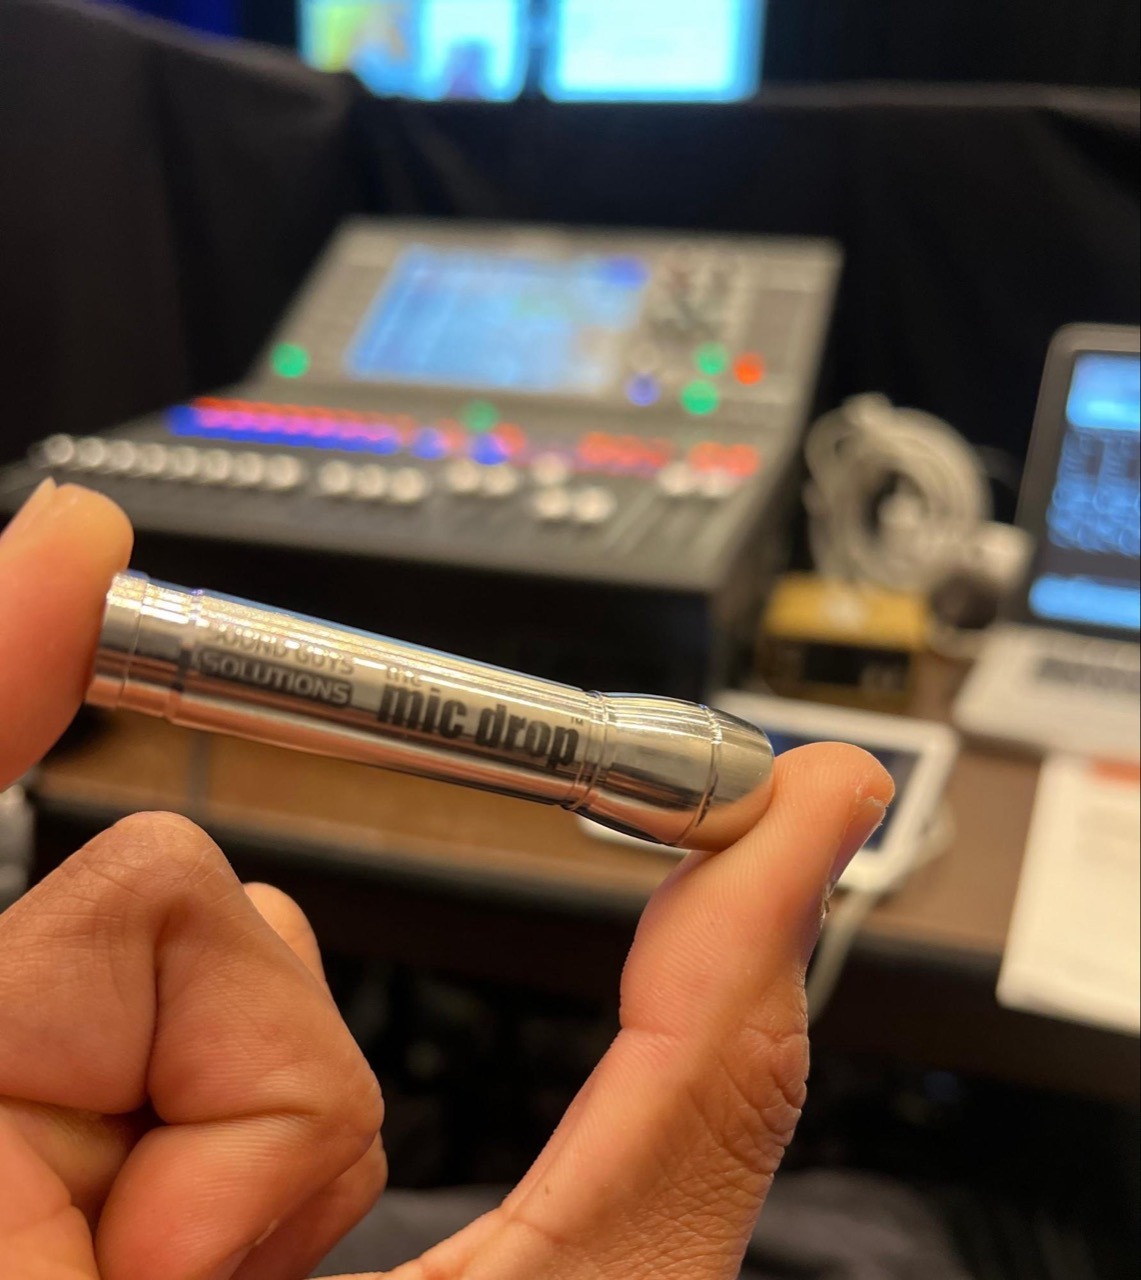
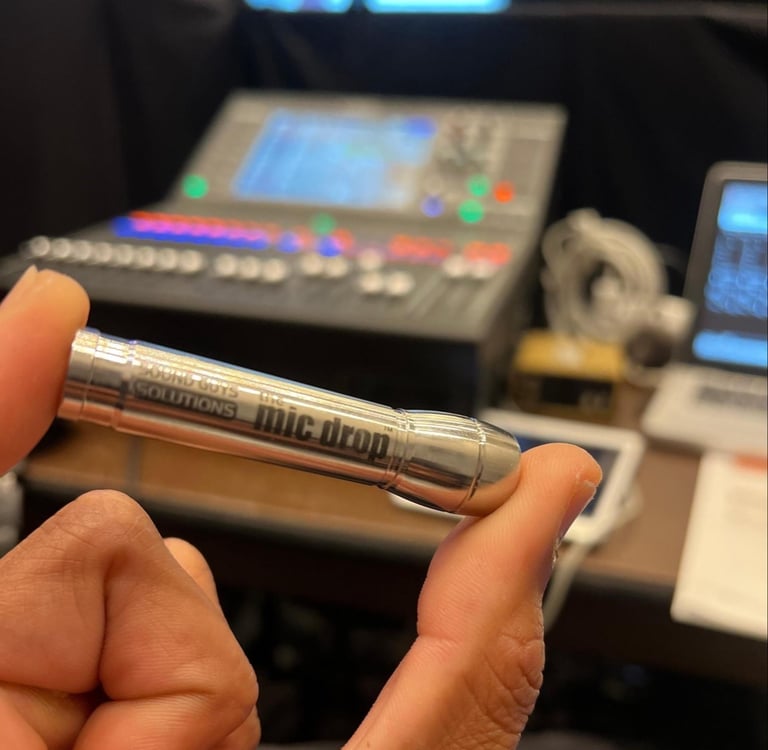
Mic drop by sound guys solutions
#7 – Overlooking Room EQ
When the tech table is looking good, & all of the microphones are coordinated, connected & labeled, now you are ready to do some more TEST while you EQ. Not taking the time to EQ your room will cause your conference room to ring & squeal throughout the event as presenters get too close to front fill speakers on the stage or as they walk into areas your main front of house speakers are aimed at. That’s why I like to encourage everyone to download a mobile RTA (real time analyzer) for audio frequencies. They can assist you in finding the exact frequencies that are squealing or howling, allowing you to reduce or eliminate them using the various EQ parameters your console has to offer.
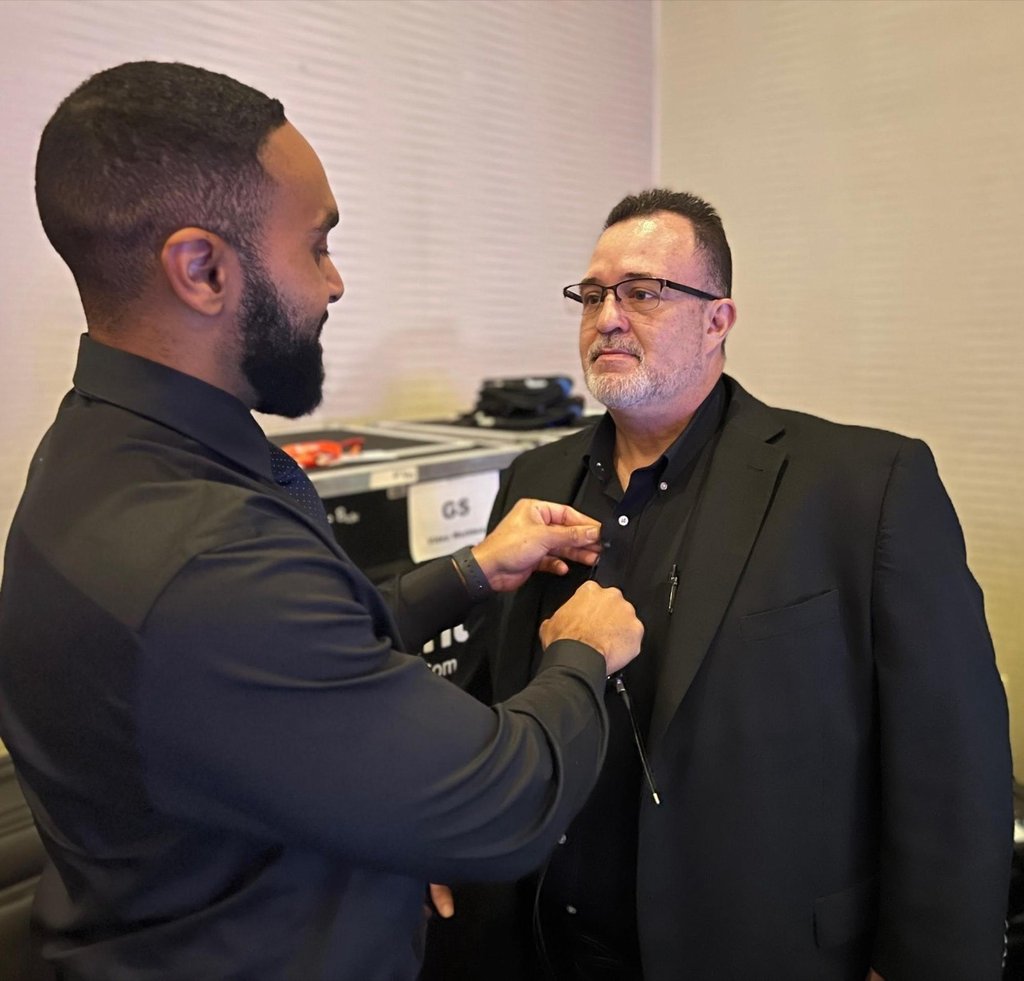
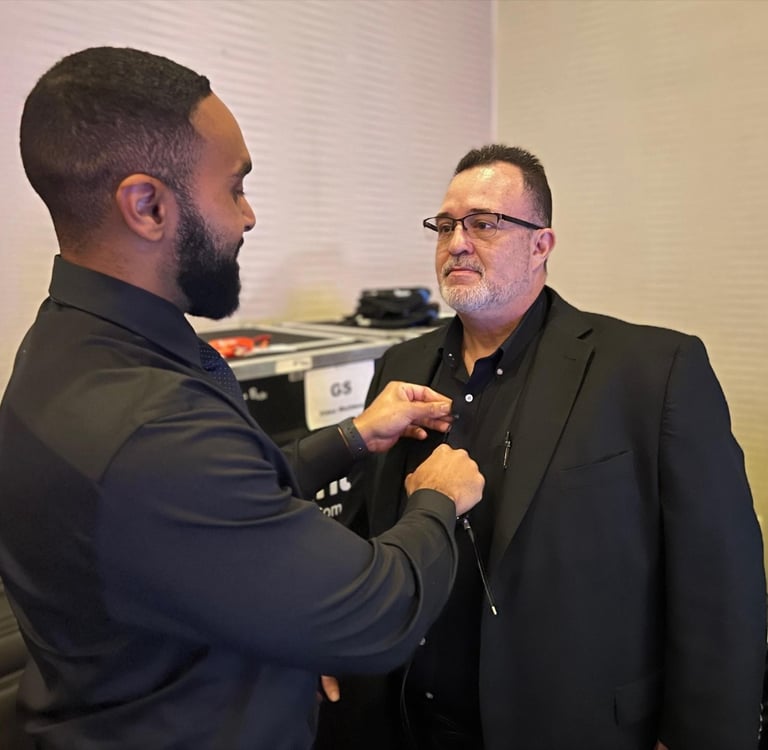
Kevon Marshall mic'ing up a presenter
Shure wireless workbench frequency coordiation software
#8 – Ignoring the Agenda and Inattention
By this point you should be ready to operate tech-wise; now it’s time to get familiar with the agenda before it’s time to rehearse. Be sure you have means to play music if the client requests it for ambience during breaks. Be sure to go over with the client if they have sound cues or introductions that need to be taken care of. Confirm whether you'll use pre-recorded introductions or supply a microphone for live announcements. Check your batteries on all of your microphones and be sure to begin with new batteries before each day kicks off. Monitor them throughout the day, but never allow them to completely deplete. You will have plenty of back-up batteries supplied by the project manager.
#9 – Improper Mic Placement
When mic'ing up your presenter, be sure the microphone is clipped a few inches above the center of their sternum. If it's physically too low, that will make it hard to hear and force you to over-gain the signal to compensate which will, in turn, make the microphone more susceptible to feedback. And if it's physically too high or offset to the left or right, the microphone will have an odd and inconsistent sound forcing you to EQ and overuse compressors to compensate. Proper mic placement makes everything easier. Also, be sure to conceal the cables as professionally as possible. Tools like the Mic Drop can help you run mic cables underneath clothing both faster and more elegantly than relying on gravity itself. Lastly, consider locking the transmitter before you see the presenter off to ensure they don’t accidentally turn it off after they wander towards the stage with the microphone.
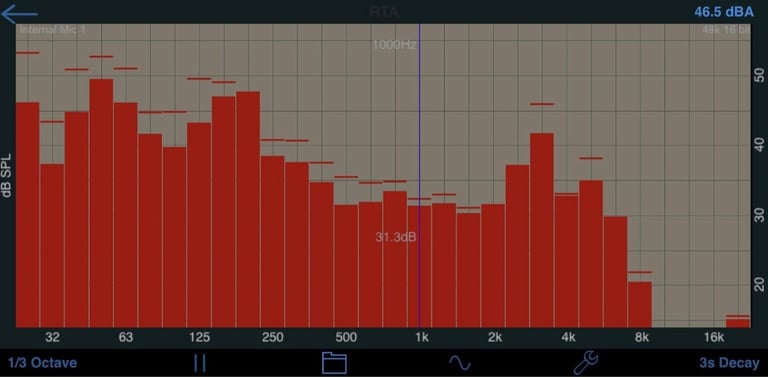
RTA app for ios devices
Get in touch
© 2025 Vandelay Sound Exports, Inc. • RETURN Policy • Privacy Policy • Terms and Conditions