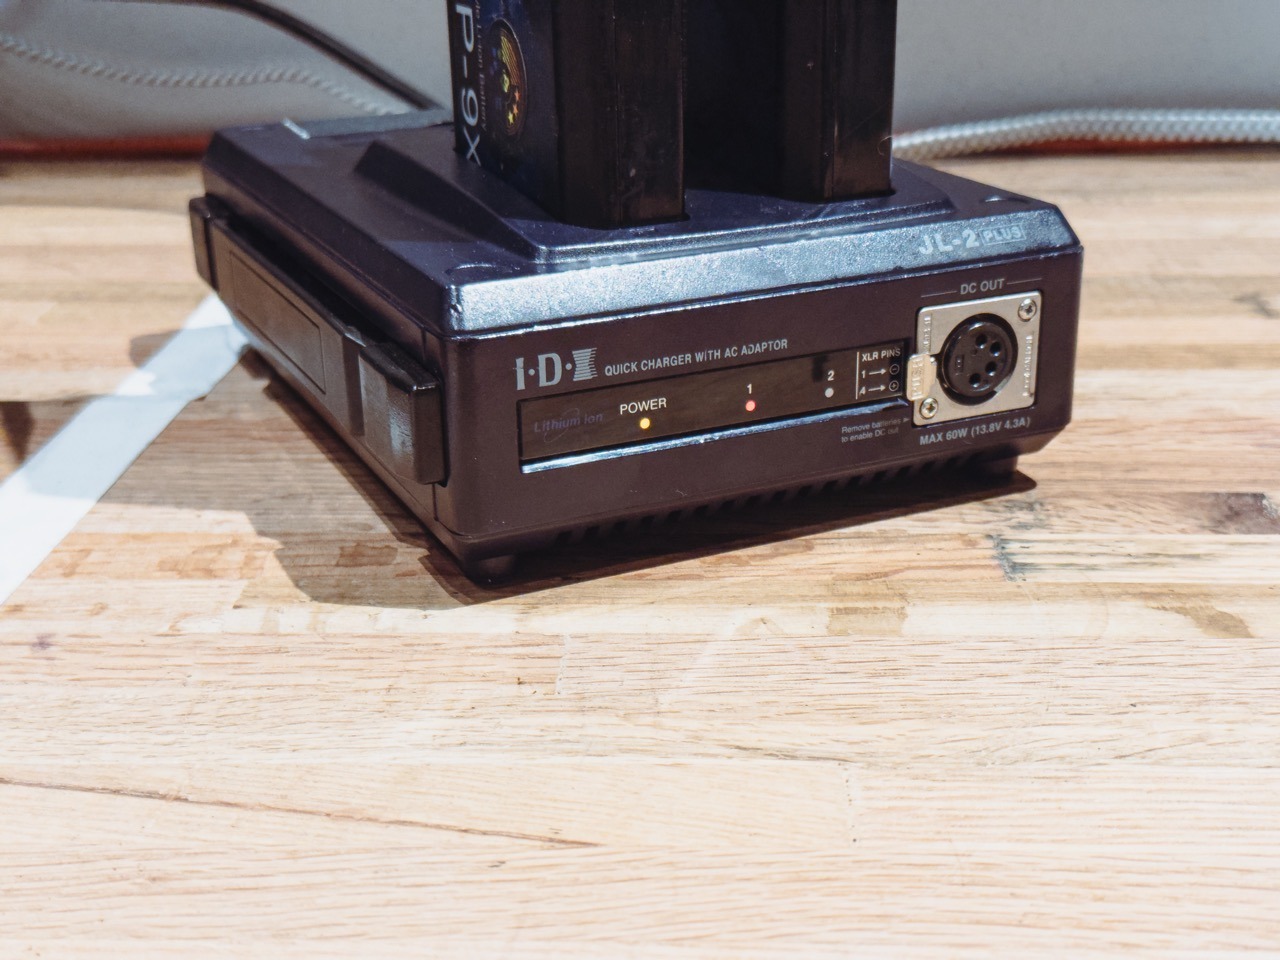
Silence the Rattle: Fixing Your IDX Charger's Fan in Simple Steps

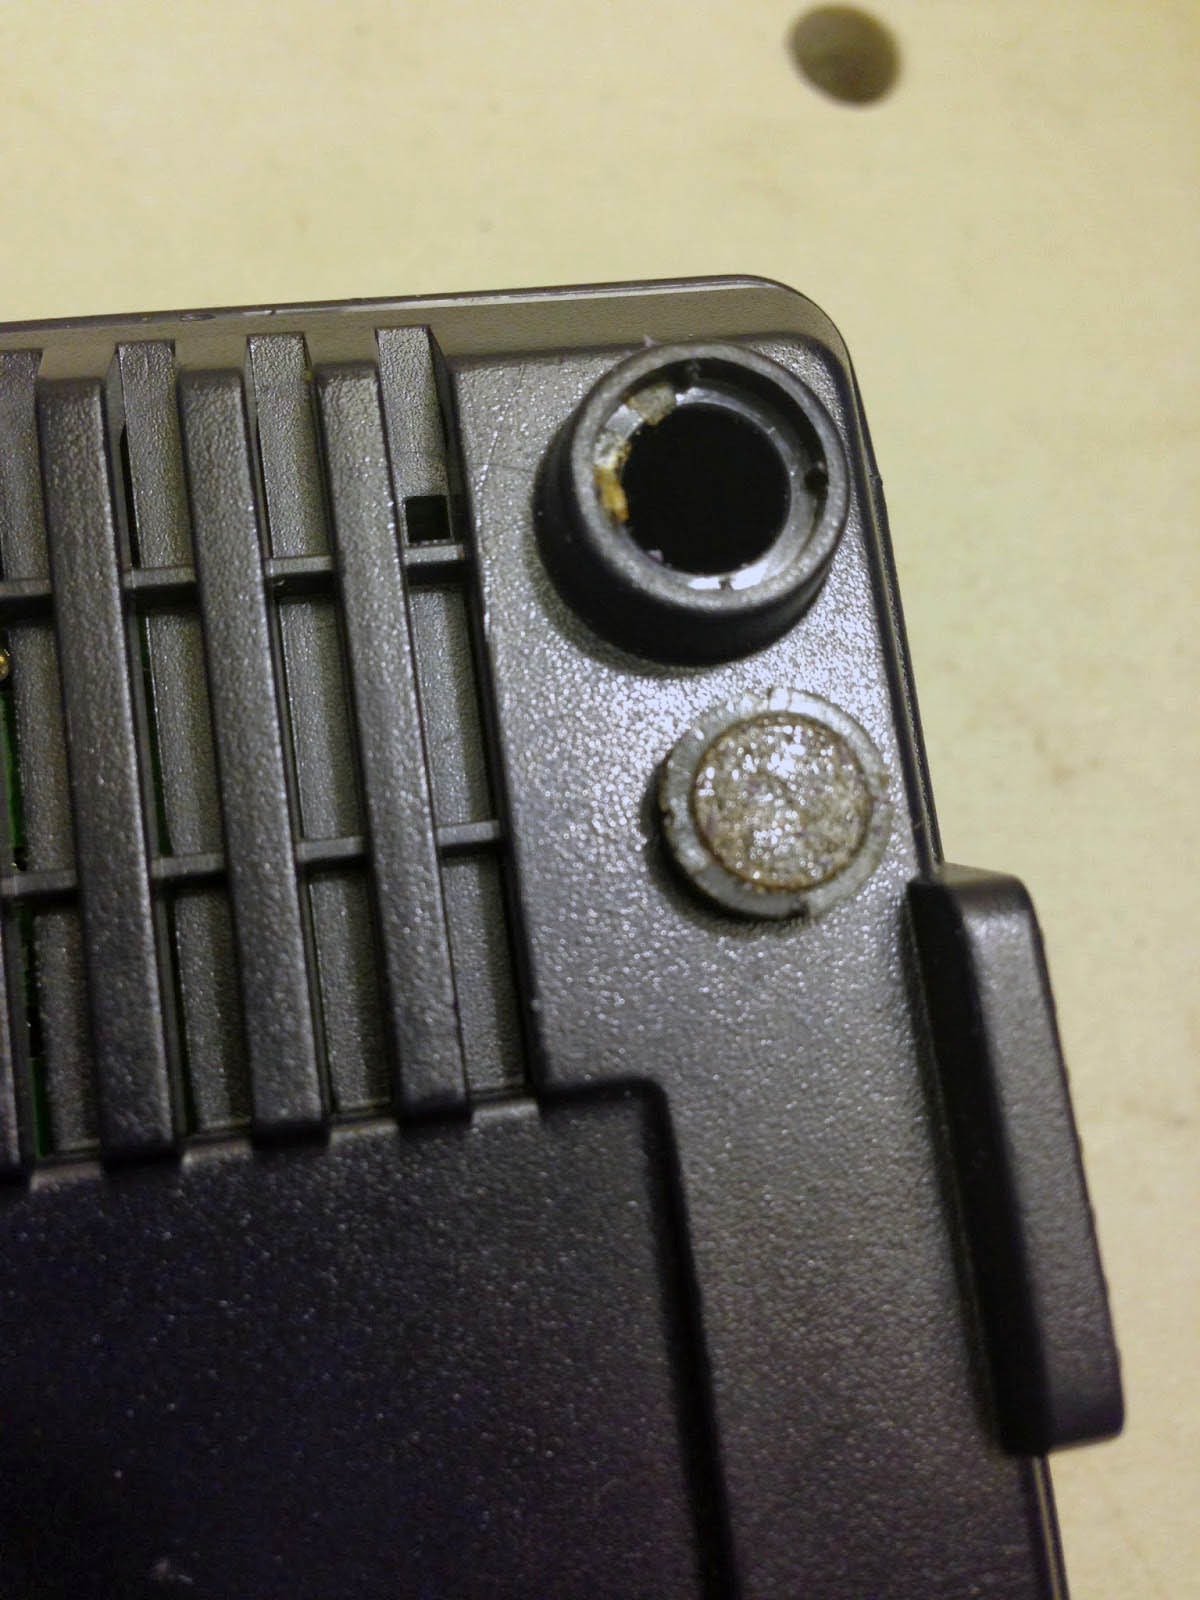
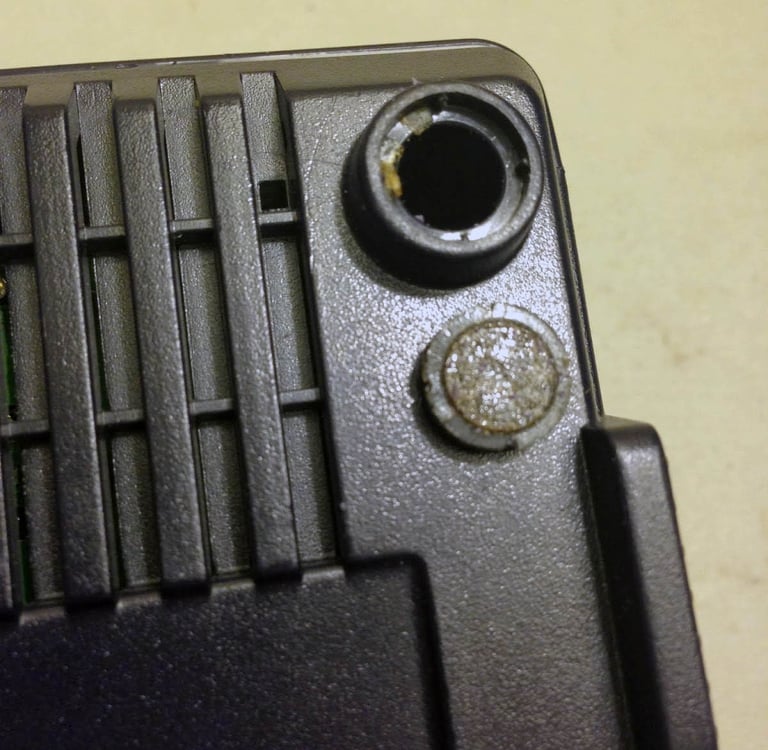
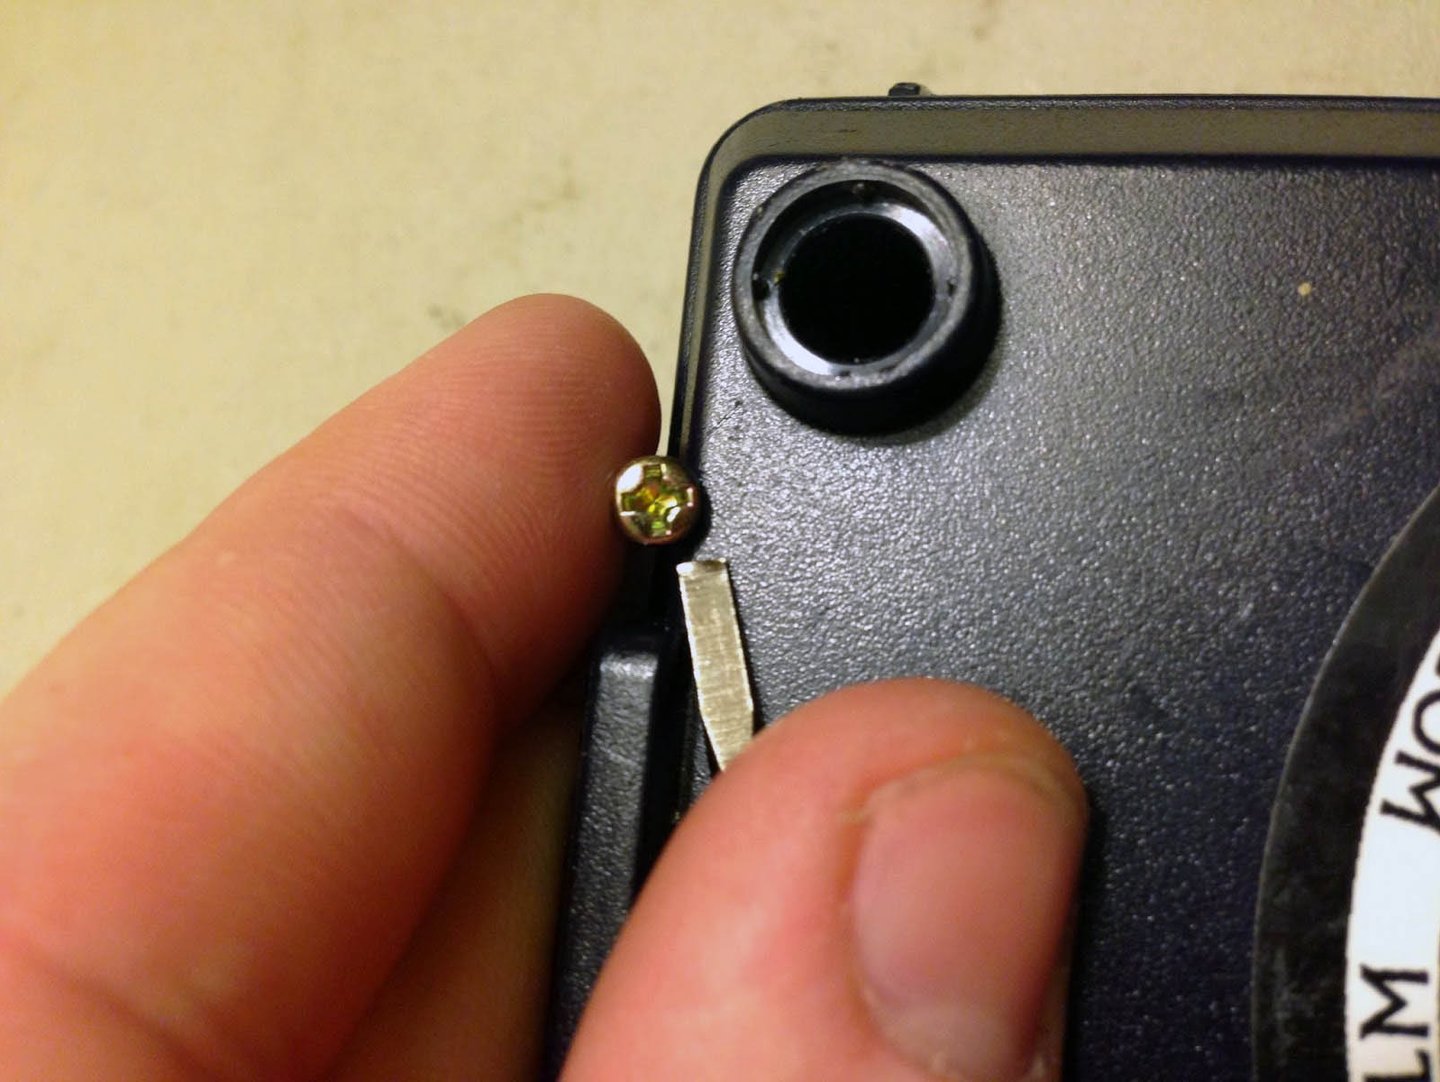
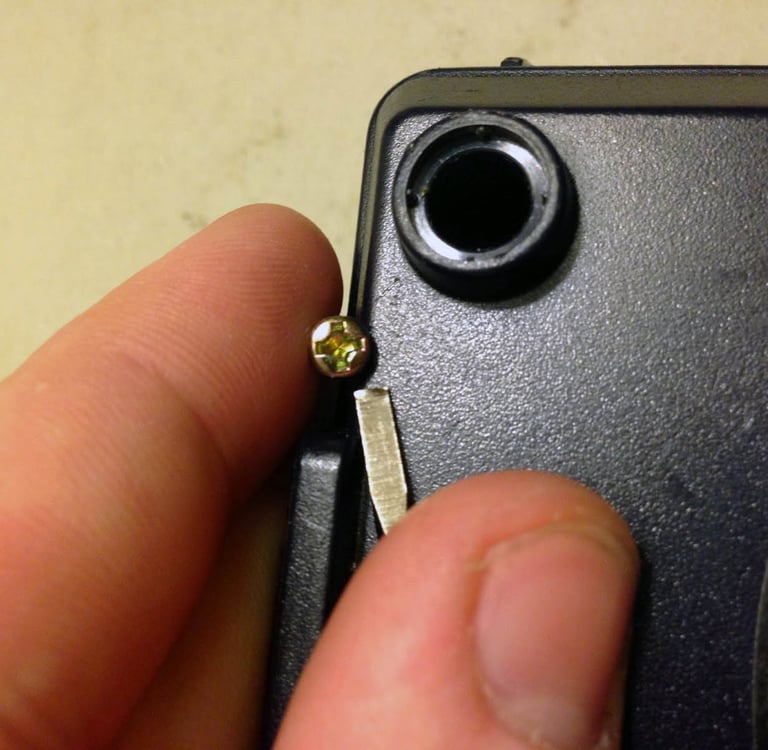
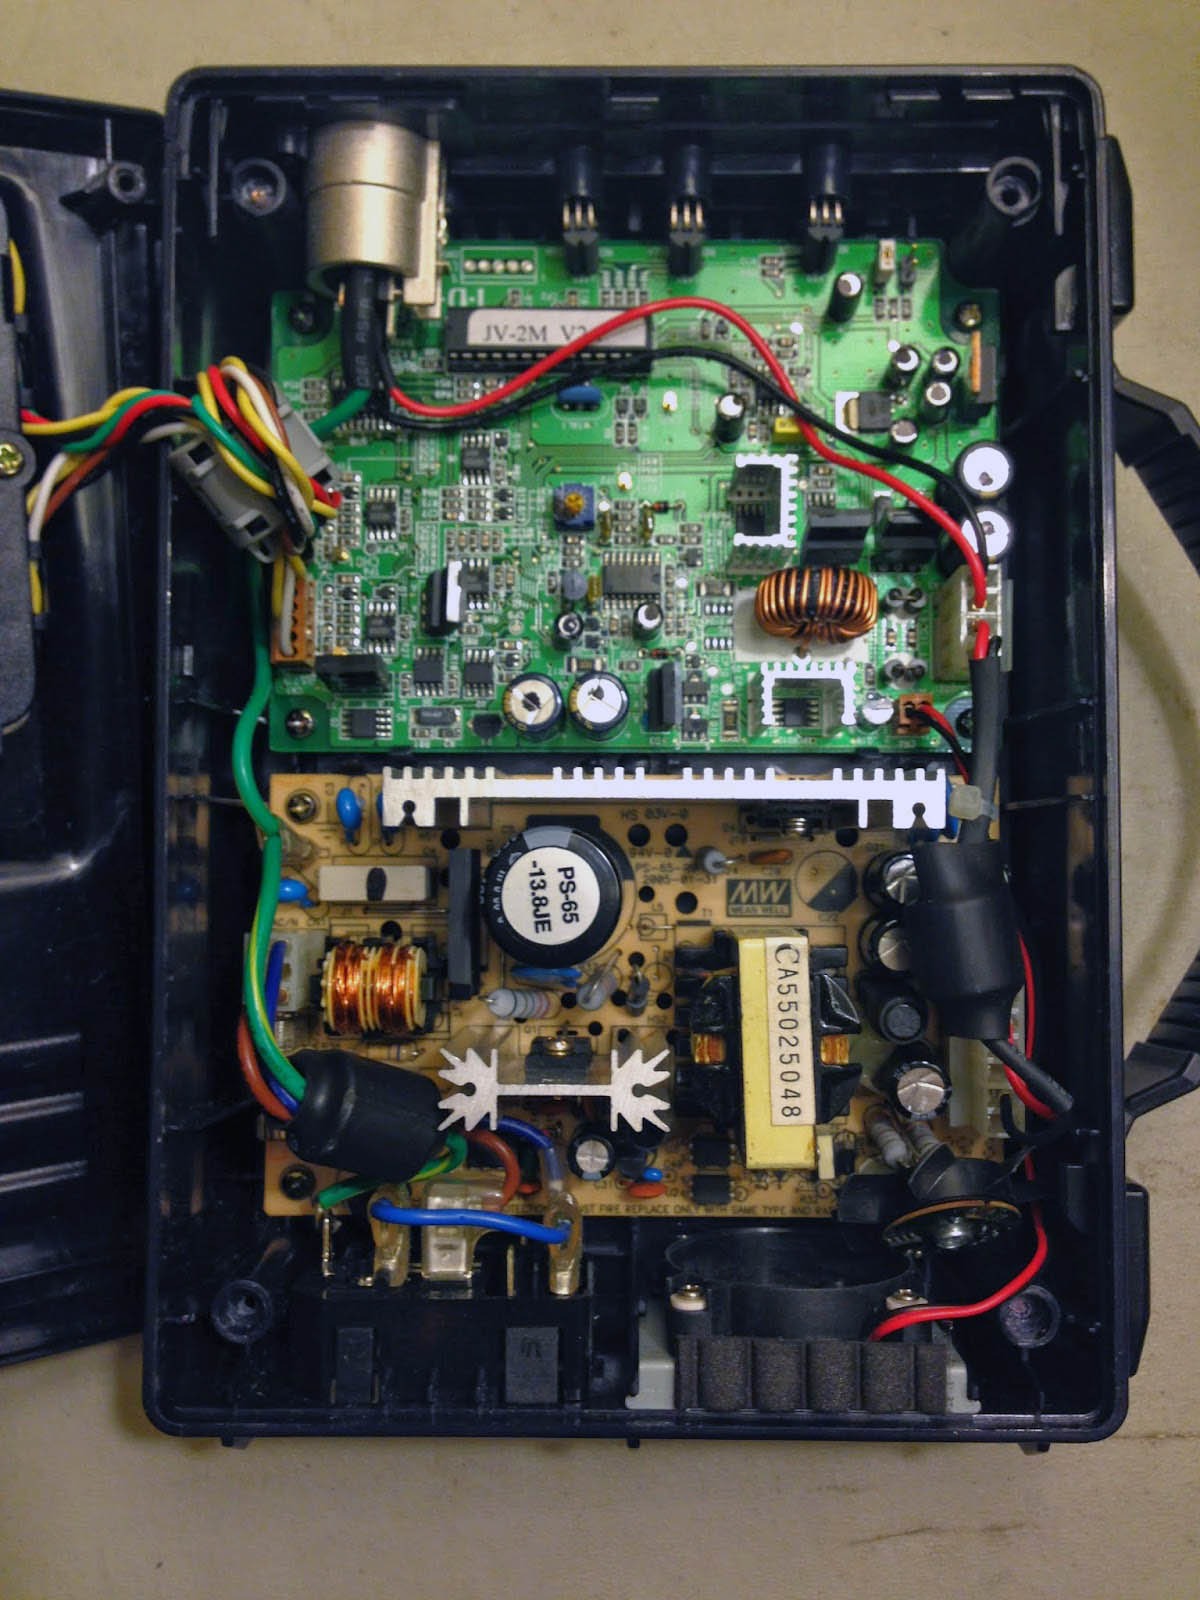
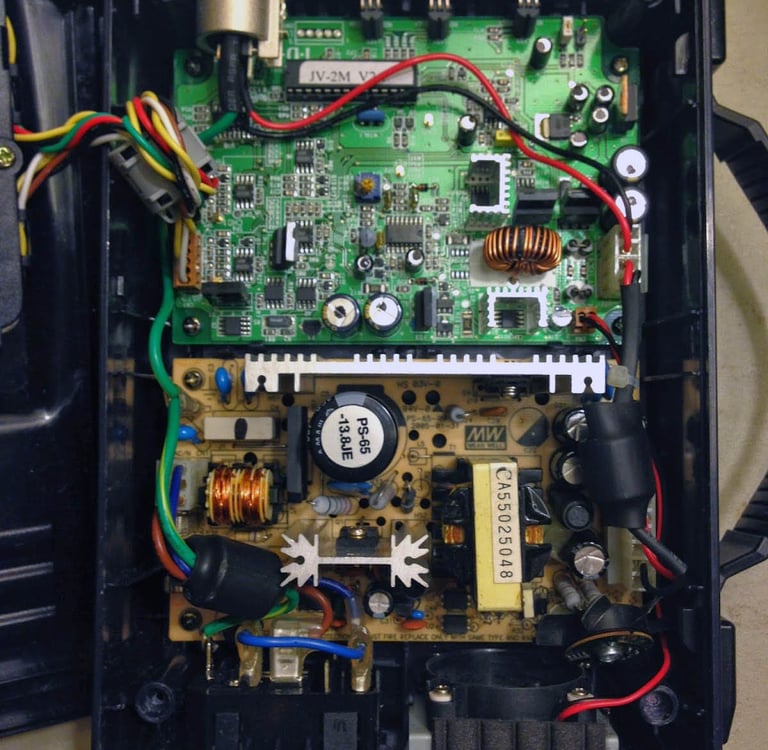
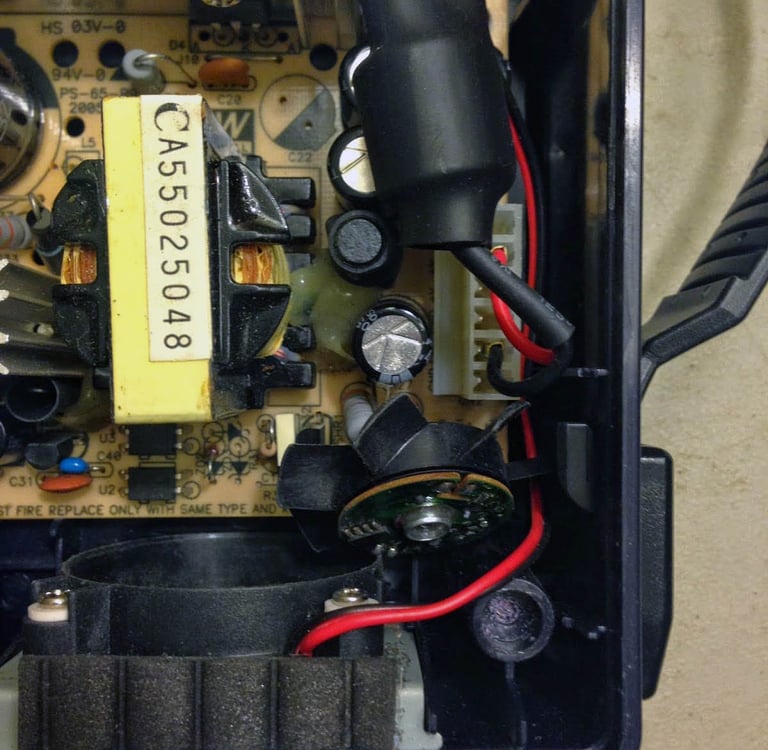
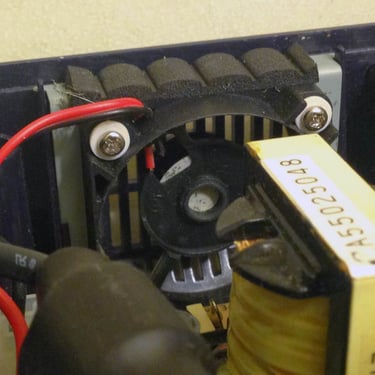
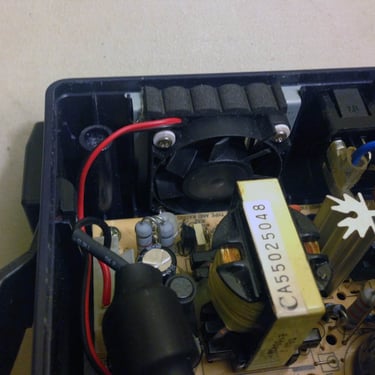
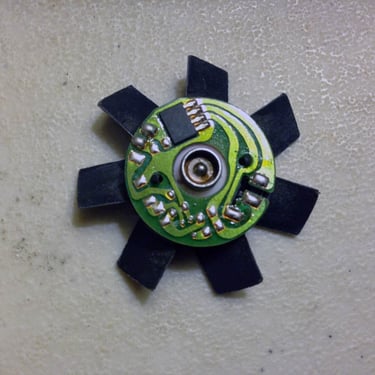
Combat Loose Fan Syndrome (LFS) in your IDX JL-2+ lithium NP charger with this comprehensive DIY guide, designed for the sound mixer who values time and efficiency. Learn how to tackle the most common issue among mixers—the fan that cools your unit—especially after rough handling during travel. This article walks you through the simple steps of a repair job that could save you from sending your gear for service, from removing the padded feet to reattaching the magnetic fan blade, using just a Lectro tweaker. While this might affect your warranty, the detailed instructions equip you with the knowledge to perform this repair at your own risk, ensuring your charger runs smoothly without the dreaded screeching halt sound indicative of LFS.

TIPS

12/4/20233 min read

We all have one. Those pricy blue little bastards that keep our rigs running for hours upon hours. The IDX JL-2+ lithium NP charger. They rarely seem to completely fail, but most common issue we seem to have, as well as most other mixers we've talked to, is that damn fan the keeps drives the heat out of the unit. Our units travel a lot and the baggage handlers seem to toss them around like a burger at a tailgate despite that fact that the case has a sticker asking them not to. Shrug. Anywho, between the 20+ units we have 90% of them have had this Loose Fan Syndrome (LFS) at some point in their life. When you hear the charger kick on and it sounds like it's about to come to a screeching halt, your JL-2+ has LFS. Sometimes you can just knock it back into place, but our most recent victim was much worse that the others...it had come completely apart and was jumping around like a 5 year old in a bounce house. If your unit flashes orange without all the noises, you might just need to replace your fuse. Grab your Lectro tweaker and let's get to work!

NOTE: This may negatively impact any warranty provided by IDX on your unit. I am not an authorized technician. I'm a sound mixer that doesn't want to send my gear in for a repair I could do myself. Performing this repair is at your sole discretion and risk. Please think before you do this. I'll ask them for any specifics, but please repair at your own risk.

Step 1: Remove the padded feet

Pull off the foam rubber padded feet from the bottom of the unit. They're on there with a glue of some sort. Simply pry them off with your tweaker. Set aside.

Step 2: Unscrew the plastic frame

The screws have a Phillips head––which by the way was first used in automobile manufacturing––but I found that the flat side of the Lectro tweaker was long enough and still fit the Phillips head. You can't use the Phillips side because it's too short. Unscrew all four corners and set the screws aside.

Step 3: Remove plastic case

The top will pull off gently once unscrewed, leaving a bundle of cables still tethered. Let them be. No need to desolder or disconnect.

Step 4: Diagnose severity of the damage

Like I mentioned earlier, the fan on my unit was completely dislodged. I've had issues in the past where a good tap with your hand a few times will bump it right back into place, so don't do all this if you don't have to. The fan itself is attached with a magnet, so it can easily become loose if it's knocked around too much.

Step 5: Move fan blade back into place

Here you can see the other side of the fan base. The magnetic fan blade simply reattaches to this base. This is the important side of the fan blade. I personally think it's kinda nuts that the fan blade has a circuit board on it, but I'm sure those folks over at IDX have a reason. You can use the Lectro tweaker to help you "lock" it back into place. You'll be able to feel when it's right. You can even plug it in and put a battery on charge to test it.

a person holding a small piece of metal with a small screwr

Step 6: Reassemble

Once your fan is reconnected, pop the lid back on, turn it over, screw the screws back in and reapply the foam rubber feet. BAM! You're right back to work.

the internal motherboard of an IDX jl-2 plus charger
a computer power supply box with a power supply